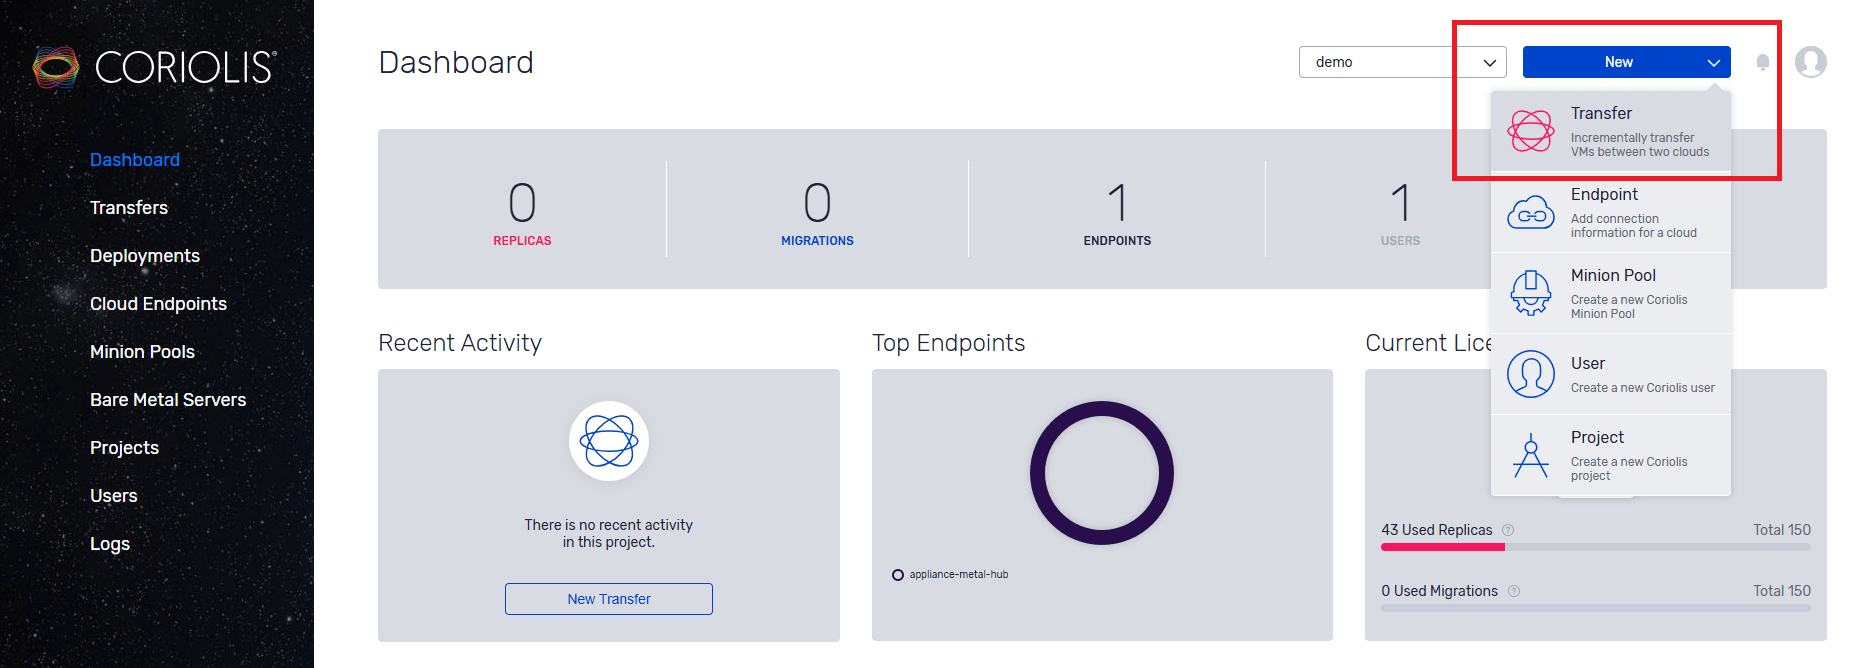
To create a Replica from the Coriolis Web UI, select from the top right, “New” and then select “Transfer” from the dropdown.
Coriolis Migration will be selected as the default; toggle the button to Coriolis Replica.

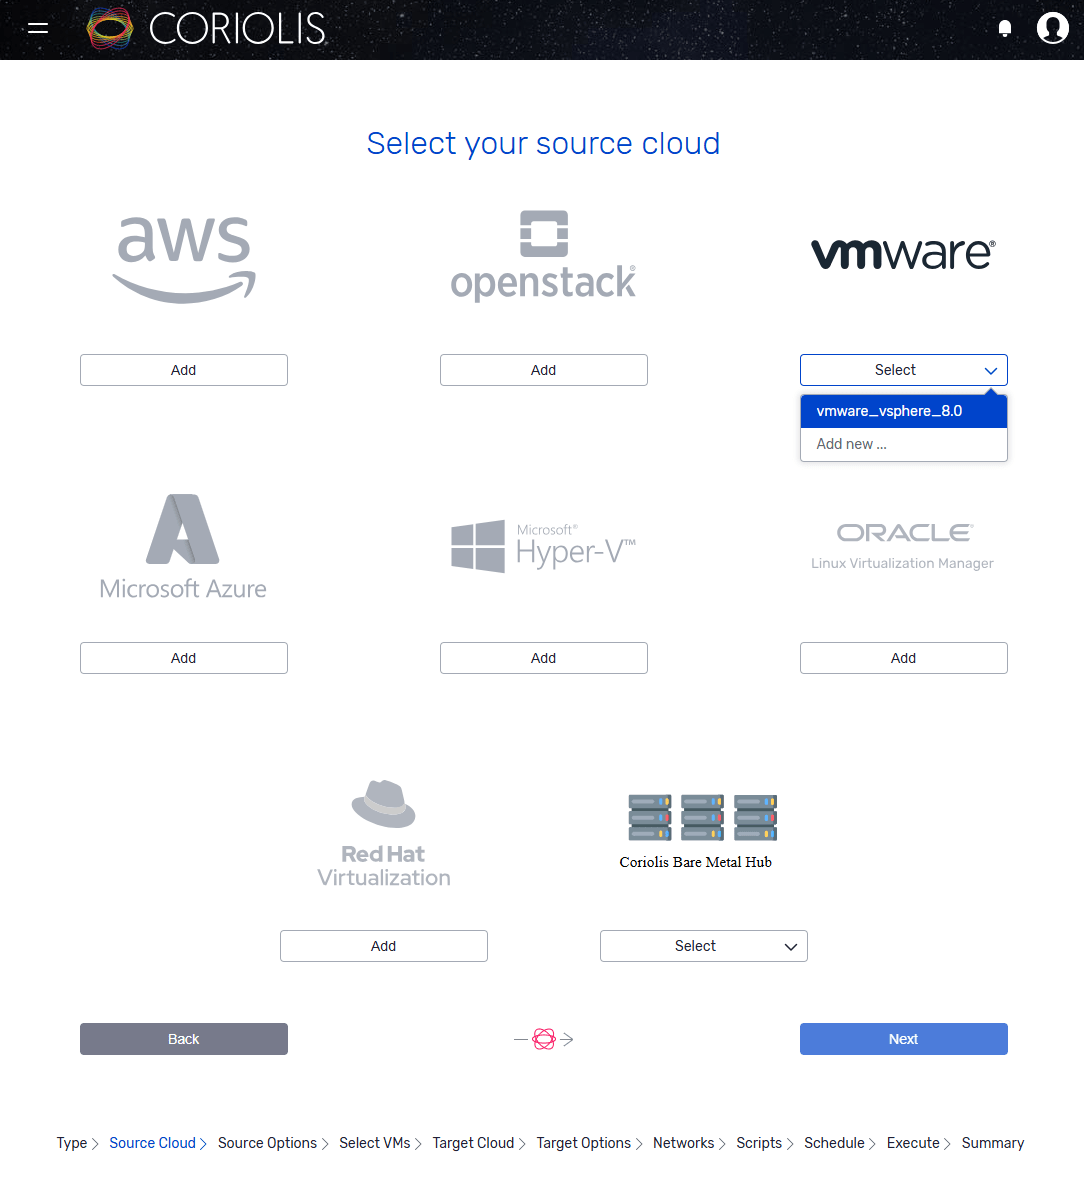
Select the desired source and destination clouds.
In this example, the chosen source platform will be a VMWare vSphere installation.
After selecting the source Endpoint and selecting next, the new window will be “Source options”, where:
- CBT can be automatically enabled, in case the machines on the source do not have it enabled already
- Choose the compatibility mode for the vixDiskLib, the official VMWare library Coriolis uses for exporting disk data from VMWare/ESXi. By default, this is set to 6.7, but it can be updated.
Changed Block Tracking, or CBT, is required by Coriolis to create the VM disk on the destination side during the Replica process. It can be enabled from VM attributes on VMWare or using Coriolis’ Source options.
Automatically enabling CBT will NOT work if the VM that is to be migrated has pre-created snapshots, in which case Coriolis will provide a clear warning.
The default Coriolis version of vixDiskLib will also be compatible with later versions, so matching it to the VMWare version is not mandatory, but is recommended.

Select the VMWare VMs that are to be replicated and click “Next”.

Select the destination Cloud Endpoint. In this example, an Oracle VM Server will be used.

Parallel migrations
Coriolis Migration or Replica jobs offer the flexibility to select one or multiple source VMs for migration. When multiple VMs are chosen, Coriolis executes all tasks concurrently and simultaneously for all selected VMs. This process begins with taking snapshots of each VM and then transferring the data in parallel.
This feature is useful when migrating a cluster comprised of multiple VMs, or when entire projects, inclusive of all VMs within them require a synchronization of the migration process.


Specify general settings for the replica job
In the Target options page, “Simple” will be selected as the default, with a few options available:
- Description – where a description for the replica process may be entered
- Execute now – which is selected by default for the process execution to start as soon as the configuration is complete
- Execute now Options – an option that will offer to shut down the instances before the process starts, it is set to “no” by default
The more fine-grained Oracle VM options under the “Advanced” section will also be shown shortly.
Select “Next” after the above steps.

The next window will allow for the selection of a network on the destination OVM corresponding to each network the VM was attached to on the source VMWare.
Once every mapping is assigned, click “Next”

The following window will allow for the selection of storage options on OVM (i.e. Repository) corresponding to each datastore the VM’s disks were using on the source VMWare. The storage selection can also be done for each disk individually.

Specify advanced replica settings
In the case of Migrating or Replicating to Oracle VM, Coriolis will need to boot some temporary VMs on OVM in order to perform tasks such as data transfer and OSMorphing.
For these so-called “temporary worker VMs”, some pre-created VM templates having a fixed username and password must exist on OVM and must be referenced to Coriolis.
There are no added requirements for the template apart from a pre-set user/password and OVMd being installed.
If Replicating Windows VMs, the Windows template must be of an equal or later version to the guests being Migrated/Replicated, as the Windows image servicing tools are not forward-compatible.
For more information regarding Coriolis Temporary Worker VM, please check the page.

If the target platform does not allow for maintaining the same MAC address, or the user asks Coriolis to change the MAC address, all network interface naming udev rules should be disabled.
Specify Replica scheduling options
The next step will be the Schedule

Here a schedule for the new replica can be created by selecting “Add Schedule”
The Schedule will run incremental syncs for that replica at the specified time and for the specified dates.
In the example below, the Schedule is set to run incremental syncs for the Replica, every day of March, every 6 hours.
In the first column, the “Run” button is available to start the schedule when the first replica finishes (by default, it comes as Off)

In the last column, there is an “Options” dialog which will allow some additional options, such as the ability to have Coriolis shut down the source VM before the disk syncing occurs, thus better guaranteeing the transfer’s consistency.

Review Replica settings and start the job
As the last step of the configuration, a summary of it will be shown with all the configurations made in the previous steps.
If any options seem missing or incorrect, one may click “Back” to return and edit them. Clicking “Finish” will start the process of creating the Replica.

Now the Replica is created, and the first Replica Execution is triggered. The tasks that are to be performed are available to track and monitor from the Replica view screen.

After the process finishes, tasks are shown as complete:

Deploying the Replica on the target platform
To create a new VM on the destination platform from a replica, at least one Replica Execution of that instance should have been completed successfully.
To initiate the Replica Deployment, from the Replica process (previous step), select “Actions” from the top left corner, and from the drop-down menu, select “Create Migration”

The next pop-up will have the Clone Disks option. This tells Coriolis to clone the disks on the destination platform and create the new VM from the cloned disks, thus allowing Coriolis to keep incrementally syncing to the same disks in the future. If the Clone disks option is set to “No”, Coriolis will need to re-sync the VM to the new disks during the next Replica Execution.
The Force option that comes as “No” by default will forcibly attempt to start the Replica Deployment process despite the Replica not having any successful Executions. This is risky and will most likely lead to a failed deployment if the Replica has not been successfully executed at least once prior.
Skip OS Morphing tells Coriolis to skip performing the OS Morphing process. The OS Morphing process includes numerous steps required to ensure that the guest OS being deployed can boot and function correctly on the target platform. Notable examples include removing any platform-specific drivers or agents that were only used on the source platform and installing the drivers/agent required by the destination platform.
OS Morphing can be skipped in situations where both the source and destination platforms are using the same underlying hypervisor, such as when performing a Migration between two KVM-based OpenStack installations.
For more specific details regarding the actions taken during the OS Morphing process for each platform, please check the Coriolis Plugins pages for the source/destination platforms you are interested in.
The User Scripts option will allow uploading a script for installations/modifications on the guest OS being migrated. These scripts are executed right before the OS Morphing process is performed by Coriolis, thus allowing for custom modifications to the guest OS before it is booted on the destination platform.
For more information, please check the User Scripts page.

After selecting the desired options, clicking “Migrate” will start the process, and it can be monitored from Dashboard->Migration->”Migration name”.