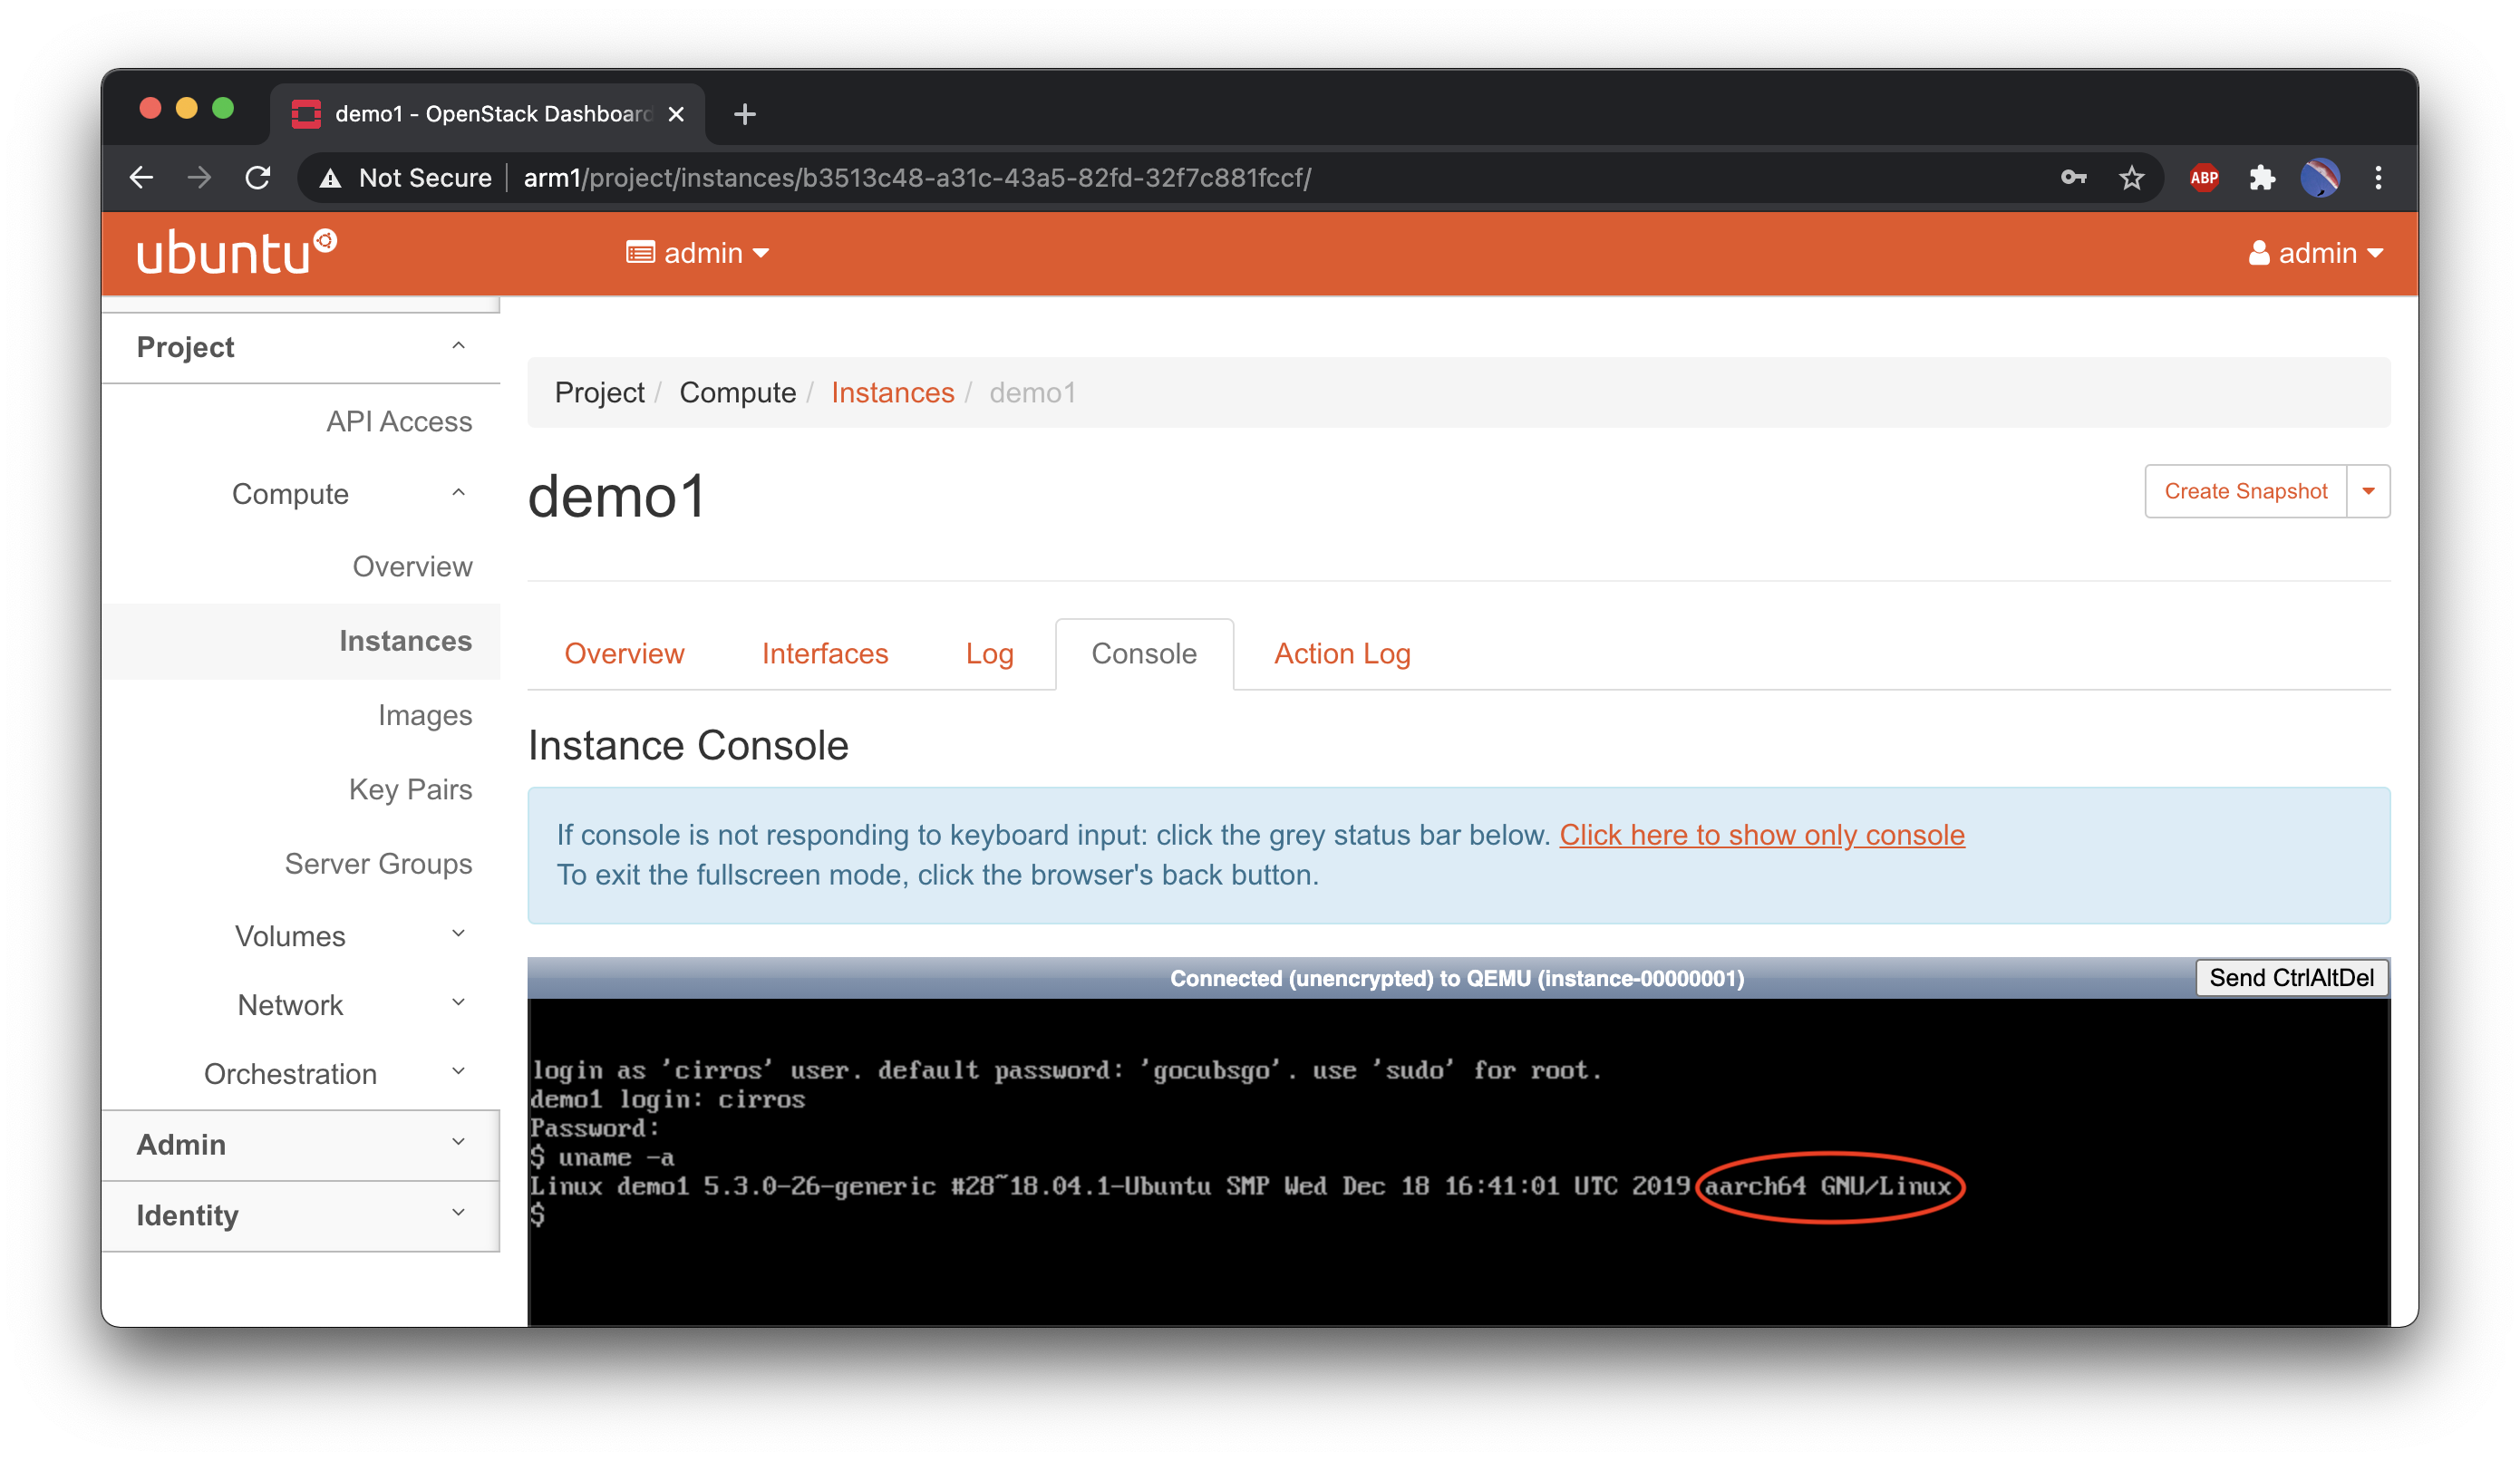
In the previous blog post we created the ARM OpenStack Kolla container images and we can now proceed with deploying OpenStack. The host is a Lenovo server with an Ampere Computing eMAG 32 cores Armv8 64-bit CPU, running Ubuntu Server 20.04. For simplicity, this will be an “All-in-One” deployment, where all OpenStack components run on the same host, but it can be easily adapted to a multi-node setup.
Let’s start with installing the host package dependencies, in case those are not already there, including Docker.
|
1 2 3 4 5 6 7 |
sudo apt update sudo apt install -y qemu-kvm docker-ce sudo apt install -y python3-dev libffi-dev gcc libssl-dev python3-venv sudo apt install -y nfs-kernel-server sudo usermod -aG docker $USER newgrp docker |
We can now create a local directory with a Python virtual environment and all the kolla-ansible components:
|
1 2 3 4 5 6 7 8 9 10 |
mkdir kolla cd kolla python3 -m venv venv source venv/bin/activate pip install -U pip pip install wheel pip install 'ansible<2.10' pip install 'kolla-ansible>=11,<12' |
The kolla-ansible configuration is stored in /etc/kolla:
|
1 2 3 4 |
sudo mkdir -p /etc/kolla/config sudo cp -r venv/share/kolla-ansible/etc_examples/kolla/* /etc/kolla sudo chown -R $USER:$USER /etc/kolla cp venv/share/kolla-ansible/ansible/inventory/* . |
Let’s check if everything is ok (nothing gets deployed yet):
|
1 |
ansible -i all-in-one all -m ping |
kolla-genpwd is used to generate random passwords for every service, stored in /etc/kolla/passwords.yml, quite useful:
|
1 |
kolla-genpwd |
Log in to the remote Docker registry, using the registry name and credentials created in the previous post:
|
1 2 3 4 5 6 |
ACR_NAME=# Value from ACR creation SP_APP_ID_PULL_ONLY=# Value from ACR SP creation SP_PASSWD_PULL_ONLY=# Value from ACR SP creation REGISTRY=$ACR_NAME.azurecr.io docker login $REGISTRY --username $SP_APP_ID --password $SP_PASSWD |
Now, there are a few variables that we need to set, specific to the host environment. The external interface is what is used for tenant traffic.
|
1 2 3 4 5 |
VIP_ADDR=# An unallocated IP address in your management network MGMT_IFACE=# Your management interface EXT_IFACE=# Your external interface # This must match the container images tag OPENSTACK_TAG=11.0.0 |
Time to write the main configuration file in /etc/kolla/globals.yml:
|
1 2 3 4 5 6 7 8 9 10 11 12 13 |
sudo tee -a /etc/kolla/globals.yml << EOT kolla_base_distro: "ubuntu" openstack_tag: "$OPENSTACK_TAG" kolla_internal_vip_address: "$VIP_ADDR" network_interface: "$MGMT_IFACE" neutron_external_interface: "$EXT_IFACE" enable_cinder: "yes" enable_cinder_backend_nfs: "yes" enable_barbican: "yes" enable_neutron_provider_networks: "yes" docker_registry: "$REGISTRY" docker_registry_username: "$SP_APP_ID_PULL_ONLY" EOT |
The registry password goes in /etc/kolla/passwords.yml:
|
1 |
sed -i "s/^docker_registry_password: .*\$/docker_registry_password: $SP_PASSWD_PULL_ONLY/g" /etc/kolla/passwords.yml |
Cinder, the OpenStack block storage component, supports a lot of backends. The easiest way to get started is by using NFS, but LVM would be a great choice as well if you have unused disks.
|
1 2 3 4 5 6 7 8 |
# Cinder NFS setup CINDER_NFS_HOST=# Your local IP # Replace with your local network CIDR if you plan to add more nodes CINDER_NFS_ACCESS=$CINDER_NFS_HOST sudo mkdir /kolla_nfs echo "/kolla_nfs $CINDER_NFS_ACCESS(rw,sync,no_root_squash)" | sudo tee -a /etc/exports echo "$CINDER_NFS_HOST:/kolla_nfs" | sudo tee -a /etc/kolla/config/nfs_shares sudo systemctl restart nfs-kernel-server |
The following settings are mostly needed for Octavia, during the next blog post in this series:
|
1 2 3 4 5 6 7 8 9 10 11 12 13 14 15 16 17 |
# Increase the PCIe ports to avoid this error when creating Octavia pool members: # libvirt.libvirtError: internal error: No more available PCI slots sudo mkdir /etc/kolla/config/nova sudo tee /etc/kolla/config/nova/nova-compute.conf << EOT [DEFAULT] resume_guests_state_on_host_boot = true [libvirt] num_pcie_ports=28 EOT # This is needed for Octavia sudo mkdir /etc/kolla/config/neutron sudo tee /etc/kolla/config/neutron/ml2_conf.ini << EOT [ml2_type_vlan] network_vlan_ranges = physnet1:100:200 EOT |
Time to do some final checks, bootstrap the host and deploy OpenStack! The Deployment will take some time, this is a good moment for a coffee.
|
1 2 3 |
kolla-ansible -i ./all-in-one prechecks kolla-ansible -i ./all-in-one bootstrap-servers kolla-ansible -i ./all-in-one deploy |
Congratulations, you have an ARM OpenStack cloud! Now we can get the CLI tools to access it:
|
1 2 3 4 |
pip3 install python-openstackclient python-barbicanclient python-heatclient python-octaviaclient kolla-ansible post-deploy # Load the vars to access the OpenStack environment . /etc/kolla/admin-openrc.sh |
The next steps are optional, but highly recommended in order to get the basic functionalities, including basic networking, standard flavors and a basic Linux image (Cirros):
|
1 2 3 4 5 |
# Set you external netwrork CIDR, range and gateway, matching your environment, e.g.: export EXT_NET_CIDR='10.0.2.0/24' export EXT_NET_RANGE='start=10.0.2.150,end=10.0.2.199' export EXT_NET_GATEWAY='10.0.2.1' ./venv/share/kolla-ansible/init-runonce |
All done! We can now create a basic VM from the command line:
|
1 2 |
# Create a demo VM openstack server create --image cirros --flavor m1.tiny --key-name mykey --network demo-net demo1 |
You can also head to “http://<VIP_ADDR>” and access Horizon, OpenStack’s web ui. The username is admin and the password is in /etc/kolla/passwords.yml:
|
1 |
grep keystone_admin_password /etc/kolla/passwords.yml |
In the next post we will add to the deployment Octavia, the load balancer as a service (LBaaS) component, Enjoy your ARM OpenStack cloud in the meantime!
P.S.: In case you would like to delete your whole deployment and start over:
|
1 |
#kolla-ansible -i ./all-in-one destroy --yes-i-really-really-mean-it |


