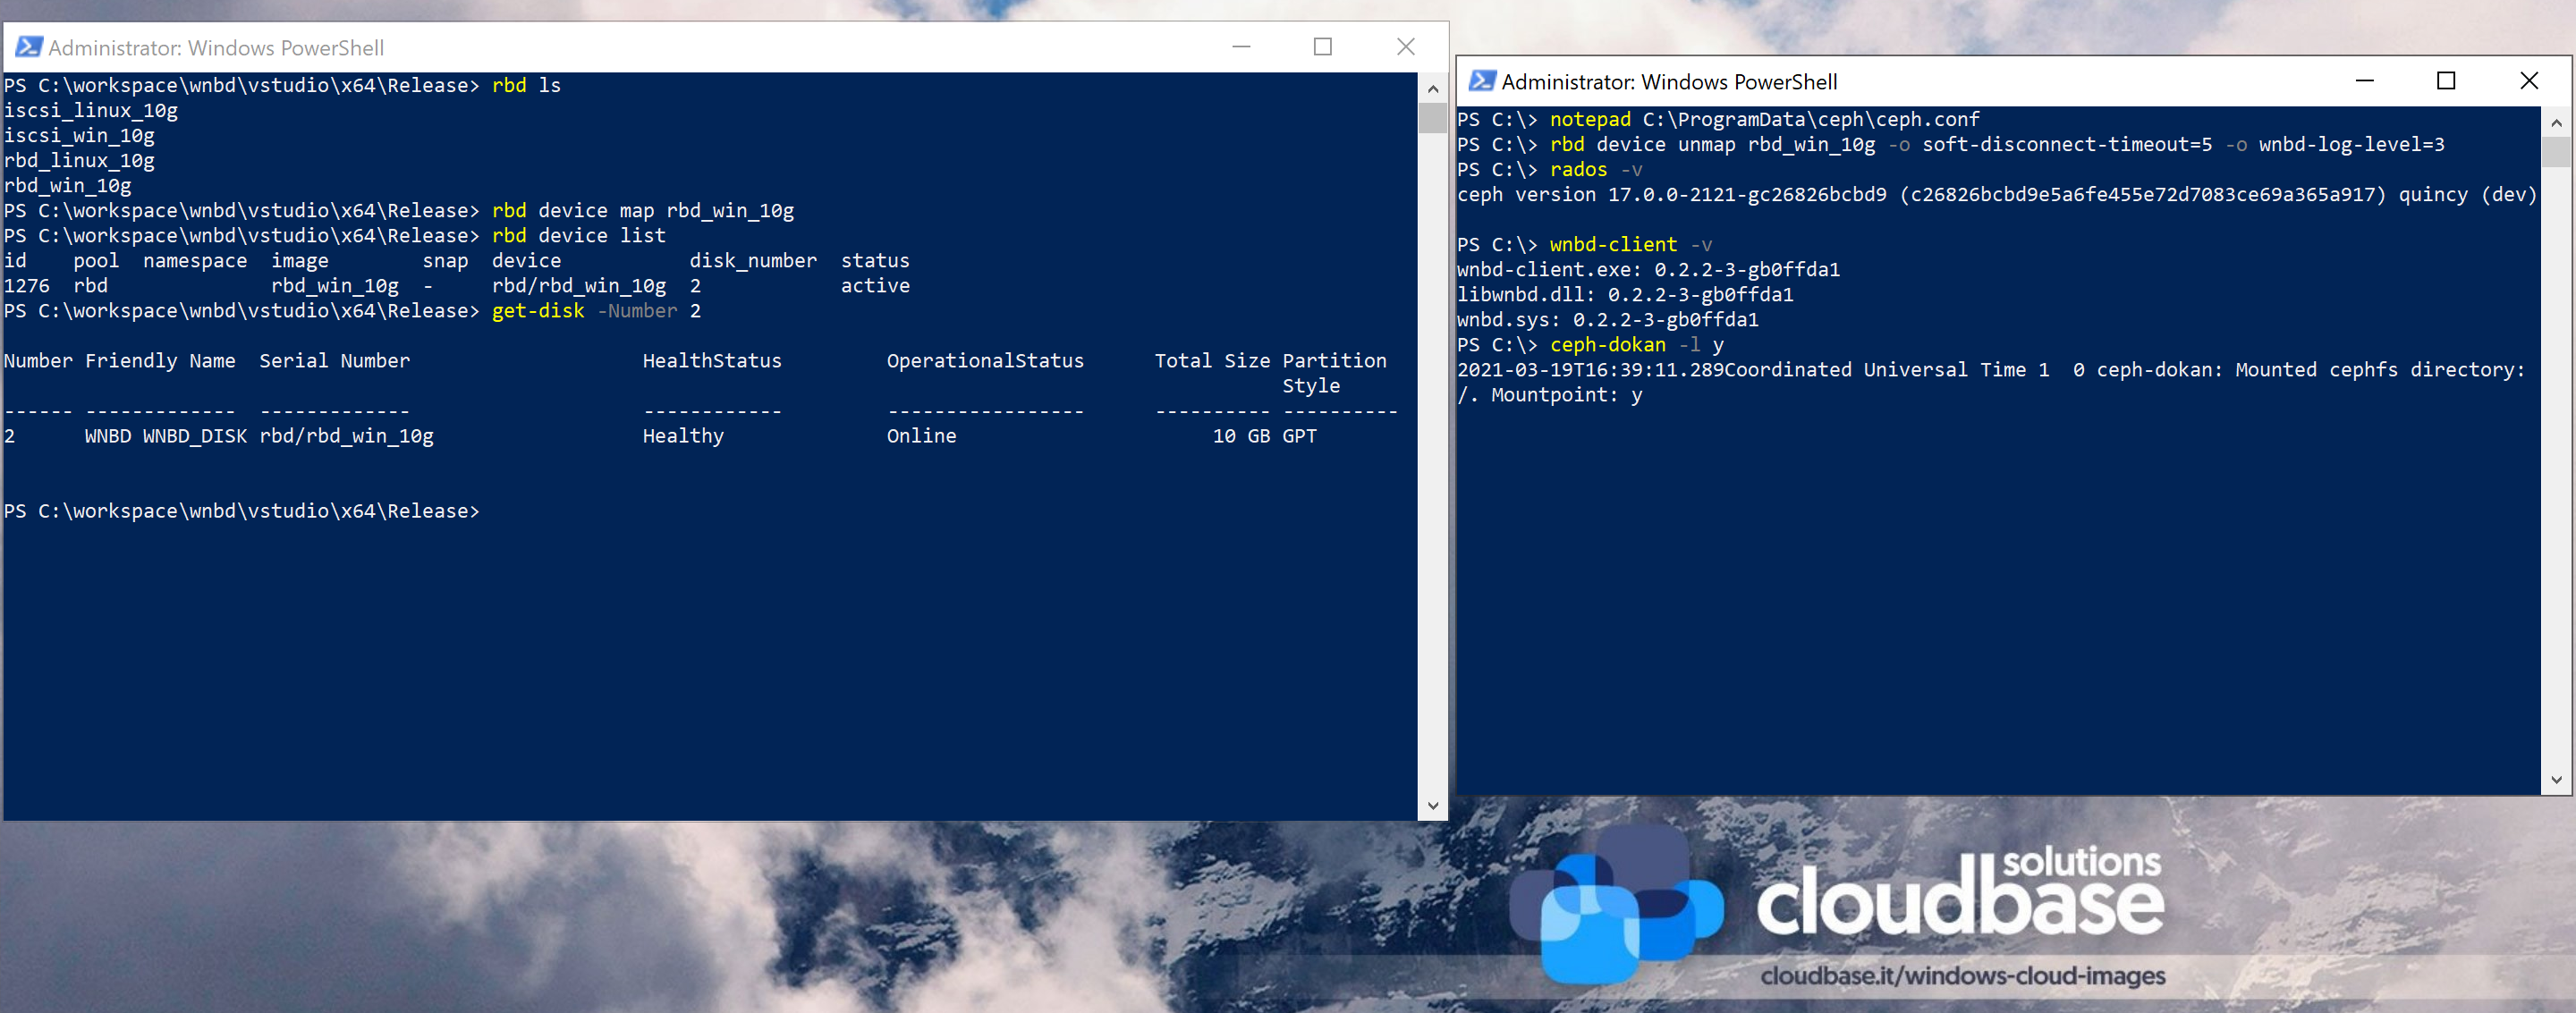
The wait is over, Ceph 16 (Pacific) provides Windows native support as a result of the Cloudbase Solutions and Suse partnership.
Ceph is probably the most commonly used software defined storage solution out there. For example, according to surveys, more than 70% of the OpenStack deployments are powered by Ceph. That’s no wonder, considering that it can run on commodity hardware, yet manage to scale up to hundreds of storage nodes and deliver impressive performance.
Using Ceph on Windows had been a pain point, requiring proxies such as iSCSI gateways or re-exporting CephFS using Samba. Those approaches deliver suboptimal performance and overcomplicate the deployment architecture. All that hassle is now gone as RBD and CephFS can be used on Windows natively.
For best performance and features, Windows Server 2019 is recommended. Windows Server 2016 is supported as well but having a few known limitations. Older Windows Server versions as well as client versions such as Windows 10 might work as well but are not currently supported.
Installing
This MSI installer is the recommended way of installing Ceph on Windows. Along with the Ceph binaries, it also bundles the WNBD driver, which is used for mapping RBD images.
Please refer to those guides if you prefer manually building and installing Ceph and WNBD.
Configuring
Minimal configuration is needed in order to use Ceph on Windows. The default config file location is C:\ProgramData\ceph\ceph.conf.
Here’s a config sample. Don’t forget to fill in the right Ceph Monitor addresses and to provide a Ceph keyring file at the specified location. For the time being, slashes “/” must be used as path separators instead of backslashes “\”.
|
1 2 3 4 5 6 7 8 9 10 11 12 13 14 15 16 17 18 19 20 |
[global] log to stderr = true ; Uncomment the following to use Windows Event Log ; log to syslog = true run dir = C:/ProgramData/ceph/out crash dir = C:/ProgramData/ceph/out ; Use the following to change the cephfs client log level ; debug client = 2 [client] keyring = C:/ProgramData/ceph/keyring ; log file = C:/ProgramData/ceph/out/$name.$pid.log admin socket = C:/ProgramData/ceph/out/$name.$pid.asok ; client_permissions = true ; client_mount_uid = 1000 ; client_mount_gid = 1000 [global] mon host = <ceph_monitor_addresses> |
RBD
Rados Block Device (RBD) has been the primary focus of this effort. The same CLI that you’re probably already familiar with can be used to create RBD images and attach them to the host as well as Hyper-V virtual machines.
The following PowerShell sample creates an RBD image, attaches it to the host and adds an NTFS partition on top.
|
1 2 3 4 5 6 7 8 9 10 11 12 13 14 15 |
rbd create blank_image --size=1G rbd device map blank_image $mappingJson = rbd-wnbd show blank_image --format=json $mappingJson = $mappingJson | ConvertFrom-Json $diskNumber = $mappingJson.disk_number # The disk must be online before creating or accessing partitions. Set-Disk -Number $diskNumber -IsOffline $false # Initialize the disk, partition it and create a fileystem. Get-Disk -Number $diskNumber | ` Initialize-Disk -PassThru | ` New-Partition -AssignDriveLetter -UseMaximumSize | ` Format-Volume -Force -Confirm:$false |
By default, all RBD mappings are persistent. The “ceph-rbd” service, which can be deployed using the above mentioned MSI installer, takes care of reattaching the RBD images after host reboots. This also allows adjusting the Windows service start order so that RBD images can be mapped before starting services that may depend on it.
The following screenshot shows an RBD image attached to a Hyper-V VM along with benchmark results. We will do a deep dive on the benchmarks in a future post (disclaimer: they look great!).

WNBD
RBD images are exposed as SCSI disks by using the WNBD Storport Miniport driver, written as part of this porting effort.
One interesting feature provided by the WNBD driver is the NBD client capability, allowing it to be used for attaching arbitrary NBD exports. This has been the default way of attaching RBD images before a more efficient mechanism was implemented. Due to its usefulness, this feature has been left in place, although it’s likely to be moved outside the driver at some point, leveraging the same API as rbd-wnbd does.
To mount a standalone NBD image, use the following:
|
1 |
wnbd-client map export_name $nbdAddress --port $nbdPort |
CephFS
CephFS support on Windows was our second main goal and is currently experimental. We’re using Dokany, which resembles FUSE, and a revamped version of the seemingly abandoned ceph-dokan project.
The following simple command mounts CephFS using the “X:” drive letter:
|
1 |
ceph-dokan.exe -l x |
Current limitations
While the current state of the porting covers already the majority of the yes cases, there are a few limitations that you should be aware of. Those are missing features that are likely to be implemented in a subsequent version.
- RBD images cannot be used yet for backing Cluster Shared Volumes (CSV) in Windows Server Failover Clustering (WSFC), which requires SCSI Persistent Reservations support
- WNBD disks cannot be live resized
- The Python bindings are unavailable
- The ceph CLI tool cannot be used natively yet. However, it may be used through Windows Subsystem for Linux to contact running services.
Coming next
The next blog post will be focusing on RBD performance. Stick around for some more benchmark results and a performance tuning guide.


